
From a long time I am working on Amazon EC2 , So I am sharing my installation experience to all my cloud and linux geeks .Hopefully you will enjoy this article.
This article will help in creating Amazon EC2 virtual machine on which to run web services. EC2 allow users to run web services through create a virtual machine and In Amazone it is called as “instance” in which OS will be contain . So many AMIs are available , which can be customize according to user requirement.
Launch an Amazon EC2 Instance :
First thing that you should have login details or sign up into http://aws.amazon.com/ , it is free but running an instance or ami , it will cost for user.
To create and instance , in the dashboard of Amazons EC2 , click the button “Launch Instance “ below are the steps process to follow.
(2) Select an Amazon Machine Image that is called short in AMI, AMI consist of operating system with some predefined software’s installed on it.Here I have selected “Cent OS “ ( which is free tier eligible.) .
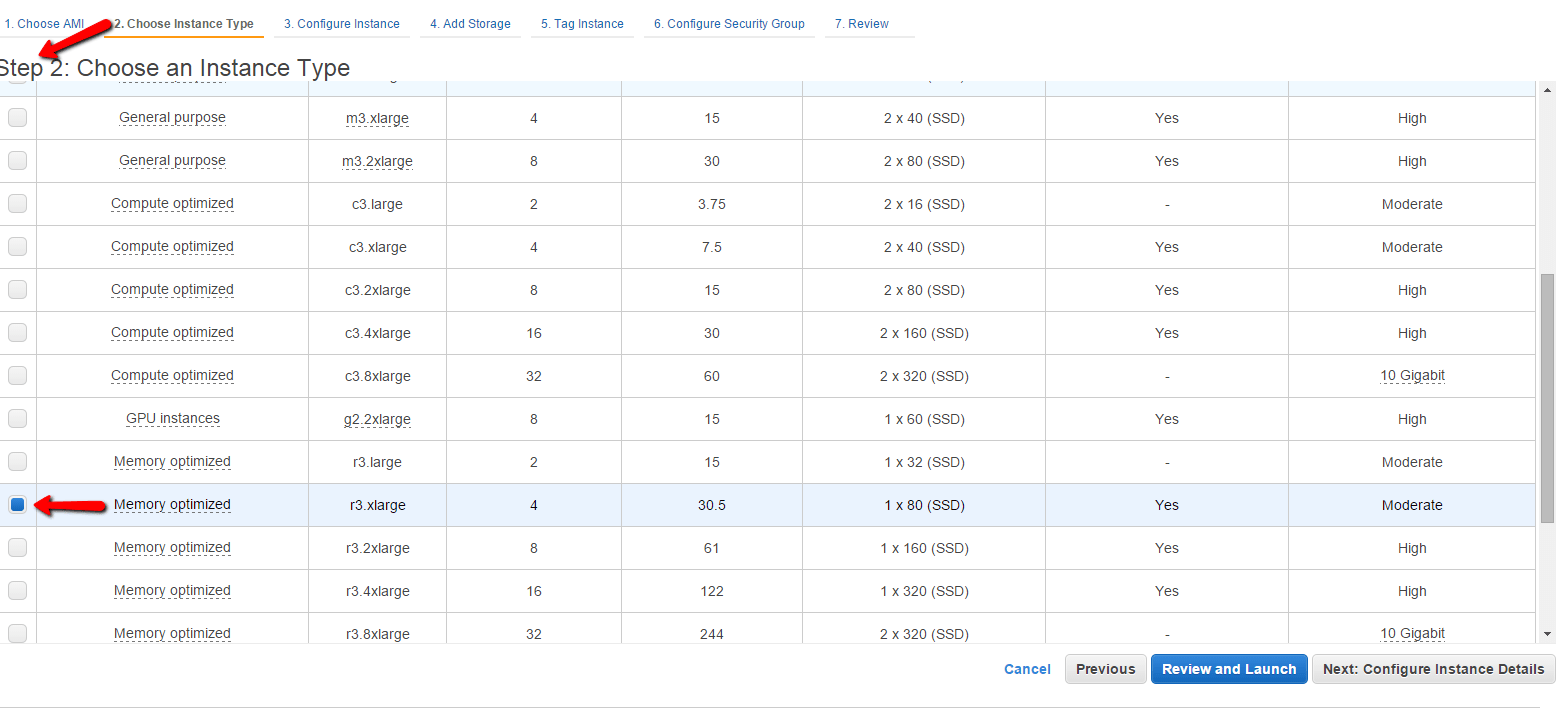
(3) We need to select the instance type in the second step , I have select here r3.xlarge type instance because of my application need to high resource , but you can select according to your requirement like number of CPUs, amount memory and storage space, networking and so on.Now click on Next: Configure Instance Details“
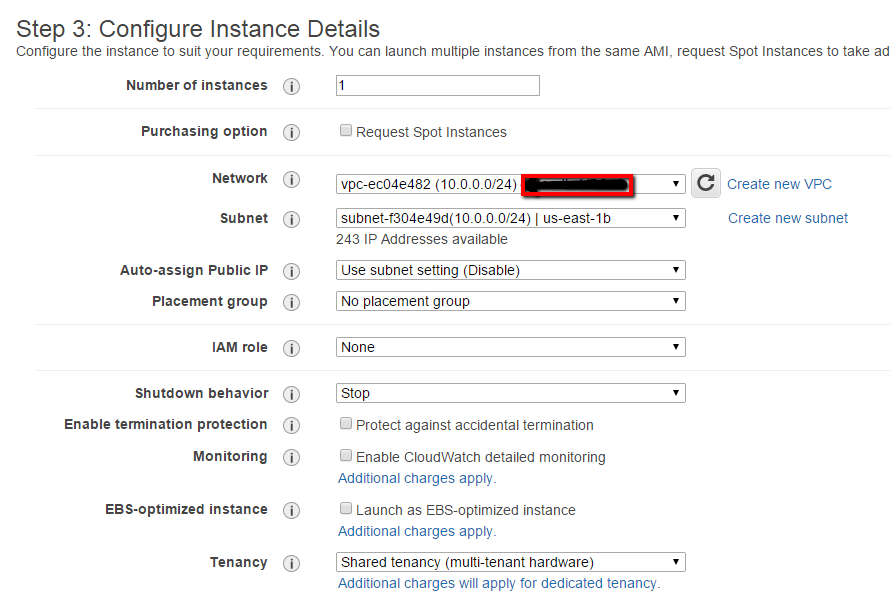
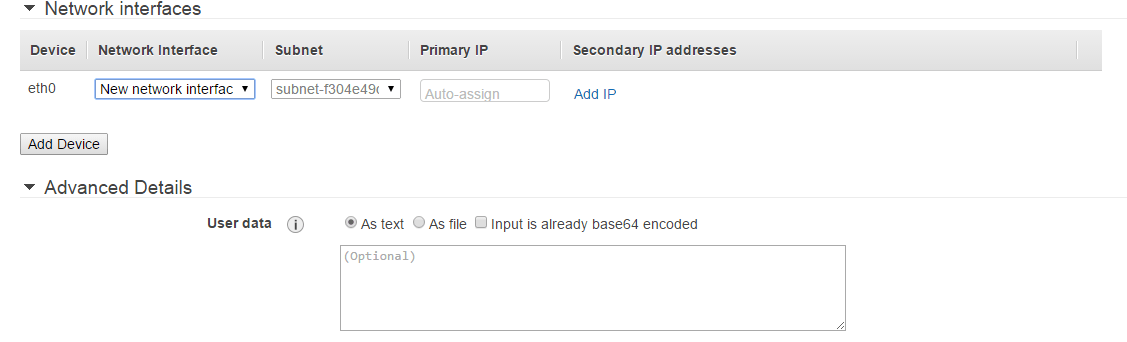
(4) In the third steps we can configure and settings related to instance like network and assign automatic some public IP on instance when start but will change after reboot , it will temporary set , we will assign Elastic IP on the instance for static public ip on the instance.Please check below scree cast and do the setting as below.
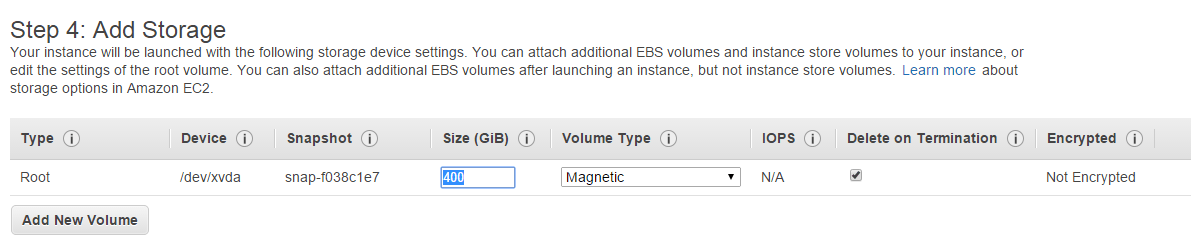
(5)In the next step configure storage you can select like default set , but I have put their 400 GB for root volume and ebs , because my requirement is for huge storage and after instance I will resize my root volume which I have selected.Now next is “Tag Instance”
(6)Now we can tag of instance here like I have create tag name “techtransit.org” .

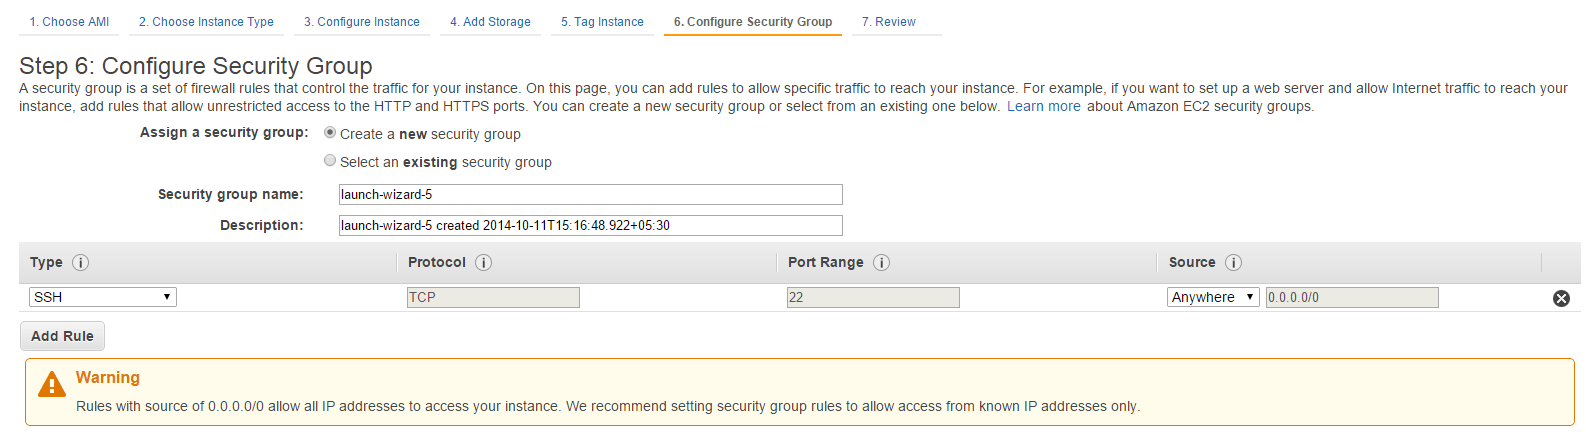
(7) In this stepwe have to create a new security group. The access to this EC2 instance will be controlled by the rules in this security group. We will create a new security group and will allow only SSH access to this instance from the outside world.
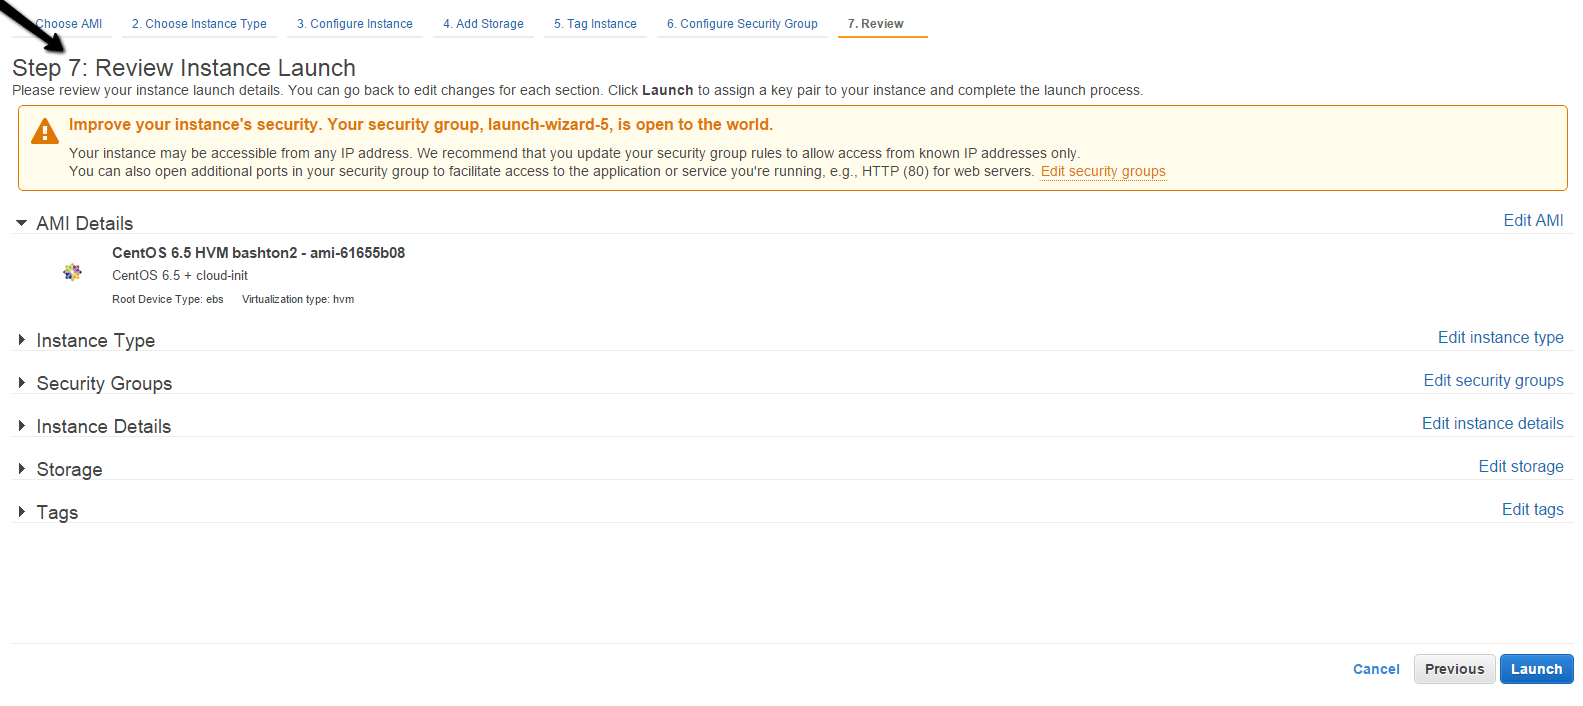
(8) Now review your setting after security group . It is all you have done in previous steps Now review and Launch .
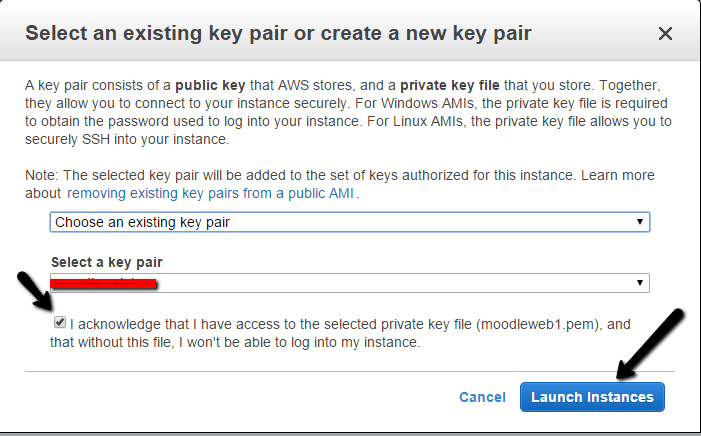
(9) Now in Launch tab button, a popup of key pair will show. A key-pair is required to connect to a EC2 instance from your system or machine .We are creating a new key-pair from drop down menu and enter the key pair name and then click on the download key pair to download key pair it to your machine .After downloading the key pair,Click on the “Launch Instantance” .
Thank you !!