
Managing MySQL or MariaDB databases is an important aspect of website development, and having a user-friendly interface can make this process much easier. One famous utility for managing MySQL databases is phpMyAdmin.
Here we are performing phpMyAdmin host on Amazon EC2 instance and making database management on your server more accessible. It is very simple like the other Linux box configuration.
Launch an Amazon EC2 Instance & Connect
Start by Open an Amazon EC2 instance. You can select an Amazon Machine Image (AMI) with a LAMP (Linux, Apache, MySQL, PHP) stack pre-installed or a basic Linux image, depending on your preferences. Make sure to configure security groups to allow traffic on port 80 (HTTP) and 443 (HTTPS).Once your EC2 Linux instance is running, then connect to it using SSH.
Set-Up Remi Package Repository
We can install and configure phpMyAdmin through the download package and install it or install it through yum global repositories. Here I have used the Remi repository for installing the PHPMyAdmin package. If you want to install Remi, repository on your CentOS / RHEL / Fedora, AlmaLinux , or Rocky Linux you can check our article Configure Additional YUM Repositories for CentOs, Red Hat, and Fedora
For Remi Repository Installation & Configuration, you can follow this article.
Configure Remi Repository on CentOS, Red Hat, AlmaLinux, and Rocky Linux Versions
Install PHP, MySQL, and Apache
Install the necessary software packages for a LAMP stack using the following command:
yum install -y httpd mysql-server php php-mysqlnd
service httpd start
service mysqld start
chkconfig httpd on
chkconfig mysqld on
Secure MySQL Installation
Run the MySQL secure installation script to enhance the security of your MySQL installation:
mysql_secure_installation
Install phpMyAdmin
Download and install phpMyAdmin using the following commands:
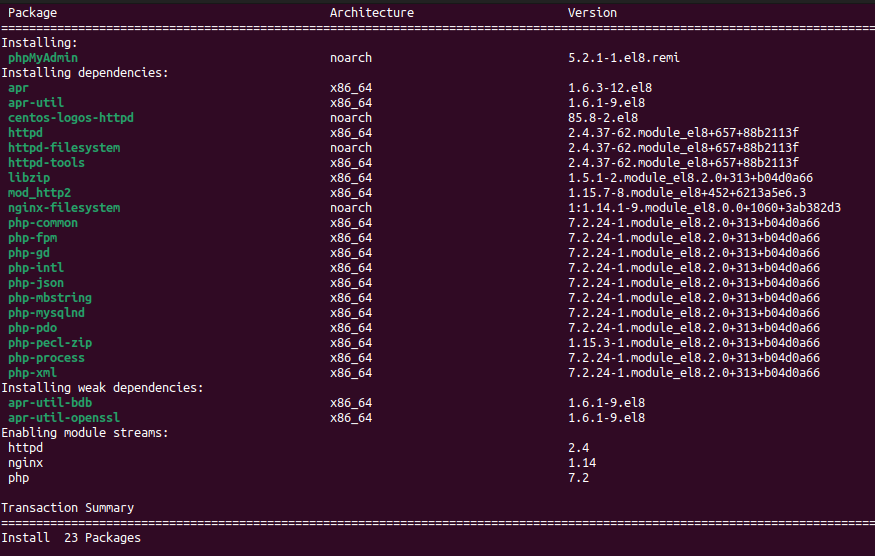
yum --enablerepo=remi install phpMyAdmin
Configure Apache
Now navigate to the configuration file “/etc/httpd/conf.d/phpMyAdmin.conf” and allow to open to access outside the local environment. Do the entry like below to allow to outside your local system.
Replace “YourIPAddress” with your actual IP address.
  AddDefaultCharset UTF-8

     # Apache 2.4

       Require ip YourIPAddress
       Require local


     # Apache 2.2
     Order Deny,Allow
     Deny from All
     Allow from YourIPAddress
     Allow from 127.0.0.1
     Allow from ::1
Configure MySQL configuration in phpMyAdmin
We have an RDS instance for Database, So we need to modify MySQL host in the config.inc.php file, which will be in the /usr/share/phpmyadmin folder, if it will not available with that name, might be it will be named as config.sample.inc.php then we need to create config.inc.php file and copy of the content of sample file into it.
vim /etc/phpMyAdmin/config.inc.php

From

$cfg['Servers'][$i]['host'] = 'localhost';

To

$cfg['Servers'][$i]['host'] = 'xxxxxxxxxxx.rds.amazonaws.com'; //Your-RDS-Instance-Endpoint
Restart Apache
Restart the Apache service to apply the changes .
sudo service httpd restart
Access phpMyAdmin
Now access through the elastic IP of your Amazon EC2 instance like below.
http://Elastic-IP-Address/phpMyAdmin
Congratulations! You have successfully installed phpMyAdmin on your Amazon EC2 instance, providing a user-friendly interface for efficient MySQL database management.
You can read more articles to install and secure at the below links.
Secure Configuration and install the latest version
Install and Configure phpMyAdmin without YUM
That’s it! at this moment.