
Last Updated on 11 months ago by Sachin G
Managing MySQL or MariaDB databases is an important aspect of website development, and having a user-friendly interface can make this process much easier. One famous utility for managing MySQL databases is phpMyAdmin.If you’re new to Cloud computing or in Linux System administration, installing phpMyAdmin on Amazon Linux 2 can seem tricky.
Here we are performing phpMyAdmin host on an Amazon EC2 instance and making database management on your server more accessible. It is very simple, like the other Linux box configuration.
Why I Needed phpMyAdmin on Amazon Linux EC2
While managing an Amazon EC2 instance for a client, I needed a quick way to interact with their MySQL database—and typing queries through the terminal was getting tedious. That’s when I decided to install phpMyAdmin on a running Amazon Linux 2 server.
Launch an Amazon EC2 Instance & Connect
Start by opening an Amazon EC2 instance. You can select an Amazon Machine Image (AMI) with a LAMP (Linux, Apache, MySQL, PHP) stack pre-installed or a basic Linux image, depending on your preferences. Make sure to configure security groups to allow traffic on port 80 (HTTP) and 443 (HTTPS). Once your EC2 Linux instance is running, connect to it using SSH.
How to Install phpMyAdmin on Amazon EC2
The EC2 instance was already up and running, so I jumped in via SSH access EC2:
ssh -i "my-key.pem" ec2-user@your-ec2-ipSet-Up EPEL or Remi Package Repository
We can install and configure phpMyAdmin through the download package and install it or install it through the yum global repositories. Here you can use Remi or EPEL repository for installing the PHPMyAdmin package. If you want to install Remi or EPEL repository on your CentOS / RHEL / Fedora, AlmaLinux , or Rocky Linux you can check below following article to Configure Additional YUM Repositories for CentOS, Red Hat, and Fedora, etc.
For Remi or EPEL Repository Installation & Configuration, you can follow this article.
Configure EPEL or Remi Repository on CentOS, Red Hat, AlmaLinux, and Rocky Linux Versions
Install PHP, MySQL, and Apache
Install the necessary software packages for a LAMP stack using the following command:
yum install -y httpd mysql-server php php-mysqlnd
service httpd start
service mysqld start
chkconfig httpd on
chkconfig mysqld on
Secure MySQL Installation
Run the MySQL secure installation script to enhance the security of your MySQL installation:
mysql_secure_installation
Install phpMyAdmin
Download and install phpMyAdmin using the following commands:
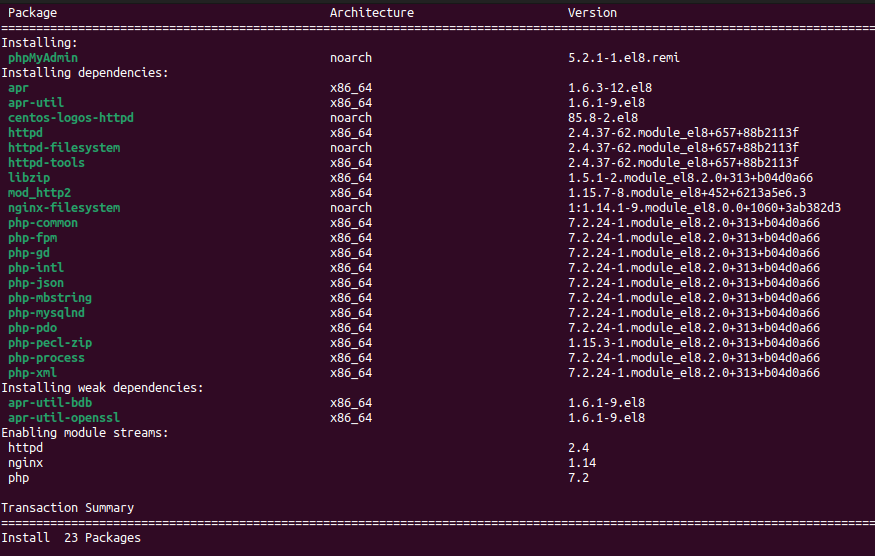
yum --enablerepo=remi install phpMyAdmin
OR
yum install phpMyAdmin
Configure Apache
Now navigate to the configuration file “/etc/httpd/conf.d/phpMyAdmin.conf” and allow to open to access outside the local environment. Do the entry like below to allow to outside your local system.
Replace “YourIPAddress” with your actual IP address.
  AddDefaultCharset UTF-8

     # Apache 2.4

       Require ip YourIPAddress
       Require local


     # Apache 2.2
     Order Deny,Allow
     Deny from All
     Allow from YourIPAddress
     Allow from 127.0.0.1
     Allow from ::1
Configure MySQL configuration in phpMyAdmin
We have an RDS instance for Database, So we need to modify MySQL host in the config.inc.php file, which will be in the /usr/share/phpmyadmin folder, if it will not available with that name, might be it will be named as config.sample.inc.php then we need to create config.inc.php file and copy of the content of sample file into it.
vim /etc/phpMyAdmin/config.inc.php

From

$cfg['Servers'][$i]['host'] = 'localhost';

To

$cfg['Servers'][$i]['host'] = 'xxxxxxxxxxx.rds.amazonaws.com'; //Your-RDS-Instance-Endpoint
Restart Apache
Restart the Apache service to apply the changes .
sudo service httpd restart
Security Group Settings and Access
This is crucial. I added a rule to my EC2 security group settings to allow HTTP (port 80) traffic, so I could access phpMyAdmin from browser on EC2.
Access phpMyAdmin
Now access through the elastic IP of your Amazon EC2 instance like below.
http://Elastic-IP-Address/phpMyAdmin
Troubleshooting Common Issues
If you encounter issues, check the Apache error logs:
sudo tail /var/log/httpd/error_log # Amazon Linux
sudo tail /var/log/apache2/error.log # Ubuntu
Security Tip: Never Expose phpMyAdmin Openly
Why? phpMyAdmin is often targeted by bots and attackers.
Best Practices:
- Restrict access by IP
- Use AWS security groups and NACLs
- Consider setting up Apache Basic Auth
- Move phpMyAdmin to a subdirectory or change its alias
“I once forgot to restrict phpMyAdmin to a specific IP and got multiple brute-force attempts in a single day. Since then, I have always used
.htpasswdand limit access to my office IP.” — AWS Admin from a Udemy MySQL course
Lessons Learned and Tips
- Set up a strong MySQL password during the initial configuration.
- Don’t forget to restart Apache if you make changes to PHP or config files:
sudo systemctl restart httpd- Restrict access to
/phpmyadminwith.htaccessor firewall rules for production.
Congratulations! You have successfully installed phpMyAdmin on your Amazon EC2 instance, providing a user-friendly interface for efficient MySQL database management.
FAQ – Installing phpMyAdmin on Amazon Linux EC2
Check your EC2 security group (port 80) and Apache configuration (Require all granted).
Yes, but with restrictions: use IP whitelisting, password protection, and don’t expose it globally.
Edit the Apache alias in /etc/httpd/conf.d/phpMyAdmin.conf and restart Apache.
Yes. phpMyAdmin is just a frontend. Install MySQL/MariaDB beforehand
The phpMyAdmin installation on AWS step-by-step wasn’t as tricky as I initially feared. As long as you take care of the Apache web server, MySQL database, and EC2 security group settings, the whole process takes under 30 minutes.
If you’re setting up a web or database server on Amazon Web Services (AWS) and need a lightweight UI for MySQL, give this method a try—you won’t regret it.

I’m Sachin Gupta — a freelance IT support specialist and founder of techtransit.org. I’m certified in Linux, Ansible, OpenShift (Red Hat), cPanel, and ITIL, with over 15 years of hands-on experience. I create beginner-friendly Linux tutorials, help with Ansible automation, and offer IT support on platforms like Upwork, Freelancer, and PeoplePerHour. Follow Tech Transit for practical tips, hosting guides, and real-world Linux expertise!