
Vesta Control Panel has not been updated for a long time. If you want, you can install Hestia Control Panel as an alternative to Vesta, which is a fork of the Vesta Panel project. Click Here
If you are thinking about Hosting multiple or single websites with server hosting software and web hosting Features like mail, FTP, etc then you can get it all in Vesta Control Panel and it is a simple and web hosting control panel with amazingly simple and nice design control panel interface.
Vesta CP panel has almost all features like MySQL, PhpMyAdmin, FTP, DNS and Mail Server, etc. Vesta is a free, open-source-based package but if you need more extra features then you have to check its commercial plug-ins like file manager and sftp modules.
The user’s experience is good with this panel management like it fast and easy to use and quite good and user friendly. According to user reviews, it looks it the best web hosting software.
Here we are going to do the installation of the latest version of the vesta panel, You can get the latest version of Vesta Panel information before installing from its official website vestacp.com.
Prerequisite Operating System Supported
RHEL / CentOS : 6 / 7 / 8
Ubuntu : 12 . 04 – 18 . 10
Debian : 7, 8, 9
Steps to Install Vesta CP
Before proceeding you should have proper root ssh access via ssh to connect your server. Now connect your server from the root account or switch to the root account.
STEP 1. Your operating system should be updated properly before proceed, Here we are using CentOs server, so below are commands to update the centos server, you can use it for the RHEL server also. After that, we need curl packages to install for download the vesta panel installer script from its source URL. Run the below commands to update and install curl on Centos / RHEL.
yum update –y
yum install curl –y
STEP 2. The second steps are to download the installer script by executing the below command. After that, we will make the downloaded installer script executable.
curl -O http://vestacp.com/pub/vst-install.sh
chmod +x vst-install.sh
STEP 3. Here we are going to do step 4 in two-part. You need to choose only one method. Method 1 is the default and second, you want to customize your packages according to your need.
Method 1
Run the below command to start the installation.
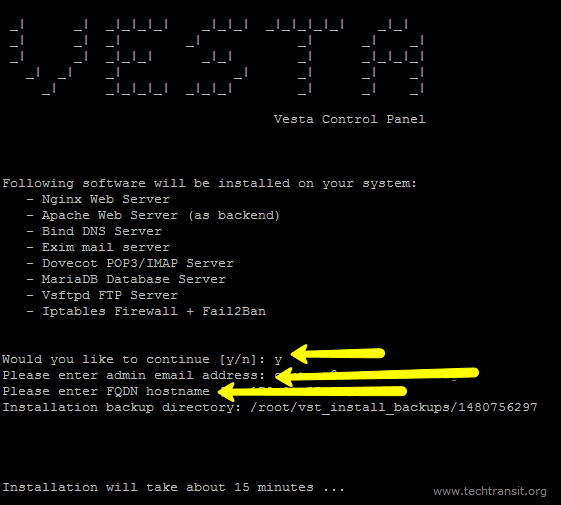
bash vst-install.sh
After executing the above command and if you have done it properly then you will get below output like below screen and then if you want to proceed put your answer is “y” and after that installer will ask for an email address, you can insert there your email address.
METHOD 2
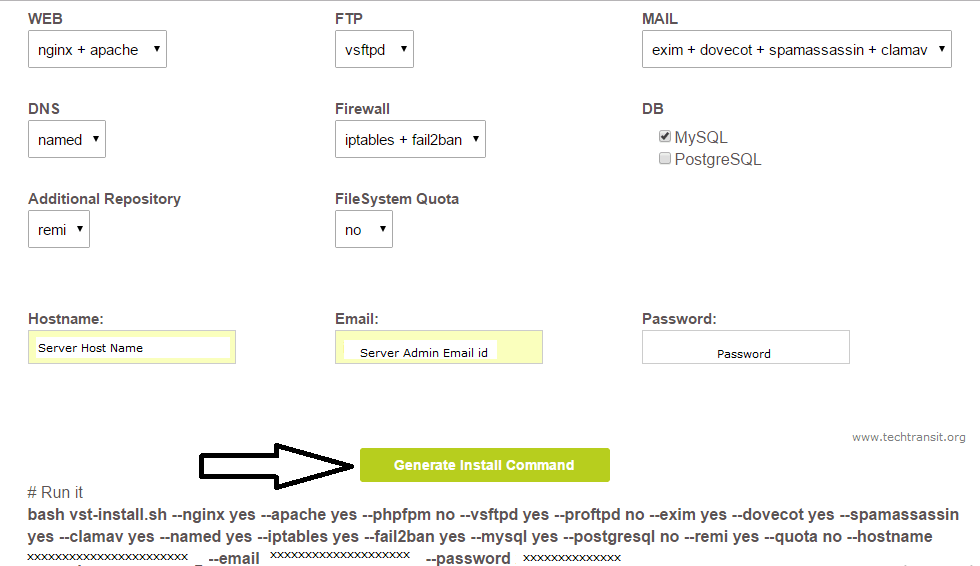
Here we are also going discuss some more feature like if you want to use your parameter on the different configuration in packages like you want to install only nginx+apache with vsftpd FTP server, MySQL server, DNS then vesta control panel develop a tool in his official website vestacp.com to generate specific installer command. This command tool is in the website “Advanced Install Settings” Section.
Web : nginx + apache (2) FTP : vsftpd (3) Mail : exim + dovecot + spamassassin + clamav (4) DNS: named (5) Firewall : iptables + fail2ban (6) DB : MySQL ()7 Additional Repository : remi (8) File System Quota no (9) Hostname : Hostname of your computer (10) email : Your email id. (11) Password : Password of your server.
# Run it
bash vst-install.sh --nginx yes --apache yes --phpfpm no --vsftpd yes --proftpd no --exim yes --dovecot yes --spamassassin yes --clamav yes --named yes --iptables yes --fail2ban yes --mysql yes --postgresql no --remi yes --quota no --hostname XXXXXXXXXXXX --email XXXXXXXXXX --password XXXXXXXXXX
STEP 4. At last after installer complete installation then it will show your Login details in the output. Please check properly at the end of the installation.
Congratulations, you have just successfully installed Vesta Control Panel

https://server_ip_address:8083

username: admin

password: XXXXXXX
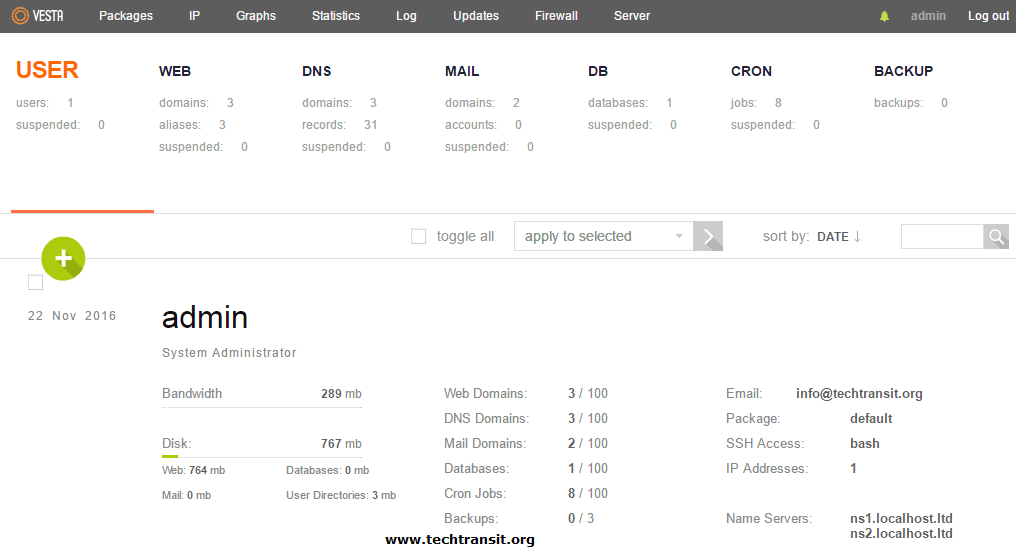
Now you can open the vesta control management URL.
https://server_ip_address:8083/
We hope that you enjoy your installation of Vesta. Please feel free to contact us anytime if you have any questions.
Thank you.