Notepad++ is a widely used editor, mainly on Windows. However, with the help of a compatibility layer called Wine, you can also use it on Ubuntu and other Linux distributions. Installing Notepad++ on desktop distributions like Ubuntu is straightforward. You can use the Ubuntu Software Center or the snap package manager system. Here are some features of Notepad++ :
- Syntax Highlighting: Notepad++ helps you understand and read code better by highlighting syntax in various programming languages.
- Multi-View and Multi-Document Interface: You can work on many files at the same time with tabs, making it easy to multitask and switch between documents.
- Auto-Completion: Save time and reduce errors while coding with Notepad++’s auto-completion for words and functions.
- Search and Replace with Regular Expressions: Notepad++ has a powerful search and replace feature that supports regular expressions, making complex text editing a breeze.
- Customizable GUI: Tailor the look of Notepad++ to your liking. You can customize the Graphical User Interface (GUI) with themes, fonts, and toolbar configurations.
- Code Folding: Code folding lets you collapse and expand code sections, making your code well-organized and readable.
- Split Screen Editing: You can split the editing window horizontally or vertically, allowing you to compare or edit code side by side.
- Line Operations: Notepad++ supports various line operations, like sorting lines, removing duplicates, and converting line endings, making text editing more efficient.
Using Notepad++ on Ubuntu is made simpler with Wine, making it a versatile option for users who prefer its features for coding and general text editing.
Here’s a step-by-step guide on how to install Notepad++ on Ubuntu:
Graphical Installation Method
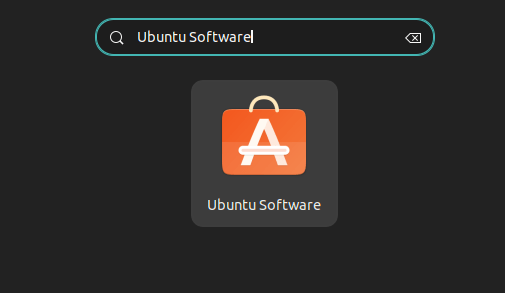
Step 1: Launch Ubuntu Software Center
Start by launching the Ubuntu Software Center. You can click on the Left Hand Side Activities Button or find it in the application launcher by keyboard shortcut Super + A and searching for ” Ubuntu Software ” Open it.
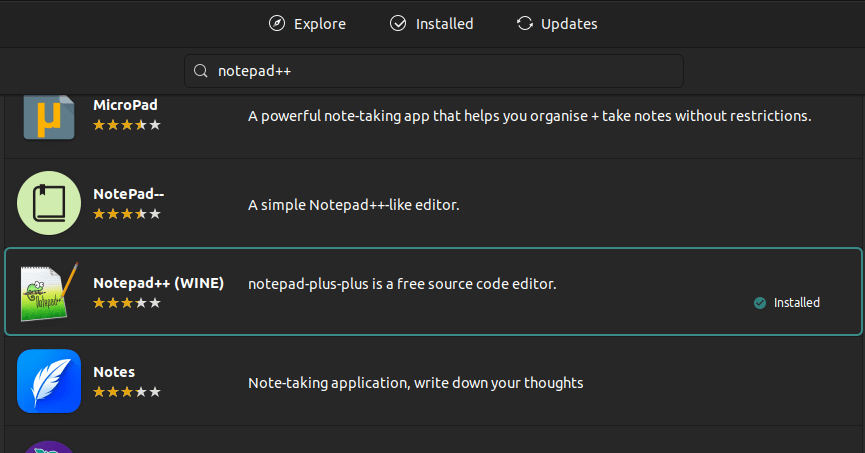
Step 2: Search for Notepad++
Once the Ubuntu Software Center is open, use the search bar in the top right corner. Type “notepad++” and press Enter. The application will show on display.
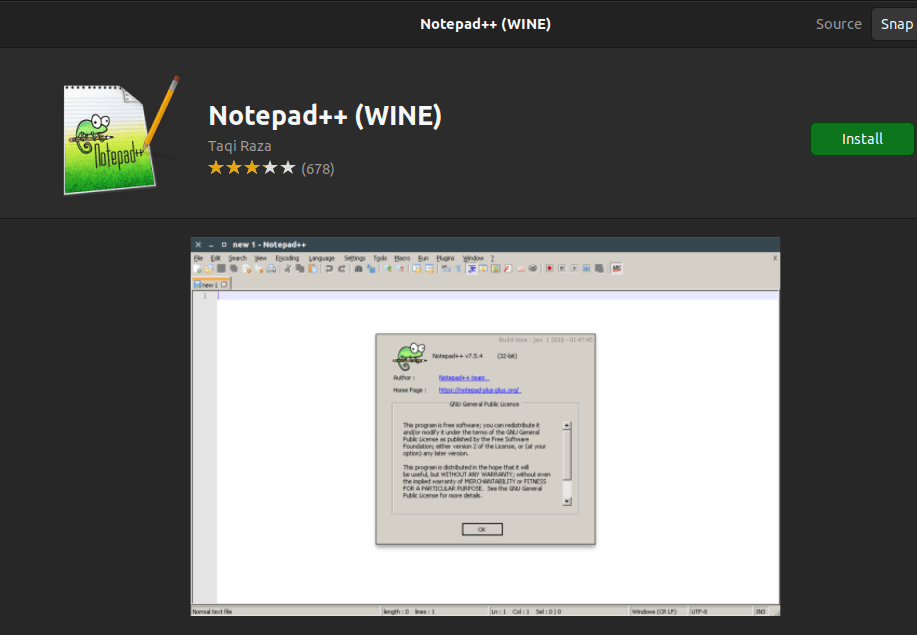
Step 3: Open and Click on Install Skype
Select or click on the logo to access the application page details. Here you will able to see an “Install” button. Click on it to begin to start the installation process.
Step 4: Authenticate
During the installation, You will be prompted to enter your password for administrative privilege. This step is necessary to ensure the security of the installation process. Enter your password and click “Authenticate.” After authentication the software center will download and install it, and the progress will reflect the installation status.
Now we are discussing another command line method, where we needed a terminal to execute some Linux commands for installation. You can choose any one method, that best fits you after that move to further steps 5.
Command Line Method
Navigate to the Terminal
Launch the Terminal on your Ubuntu system. You can do this by either pressing Ctrl + Alt + T or searching for “Terminal” in your application launcher. Update your package index list through the following
# sudo apt update
Enter your password when prompted
Install Notepad++
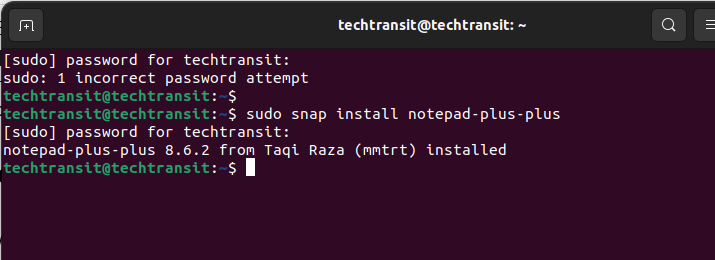
With Snapd in place, you’re ready to install. Execute the following command to download and install the Skype snap package:
sudo snap install notepad-plus-plus
Once the installation is complete, move to further step number 5.
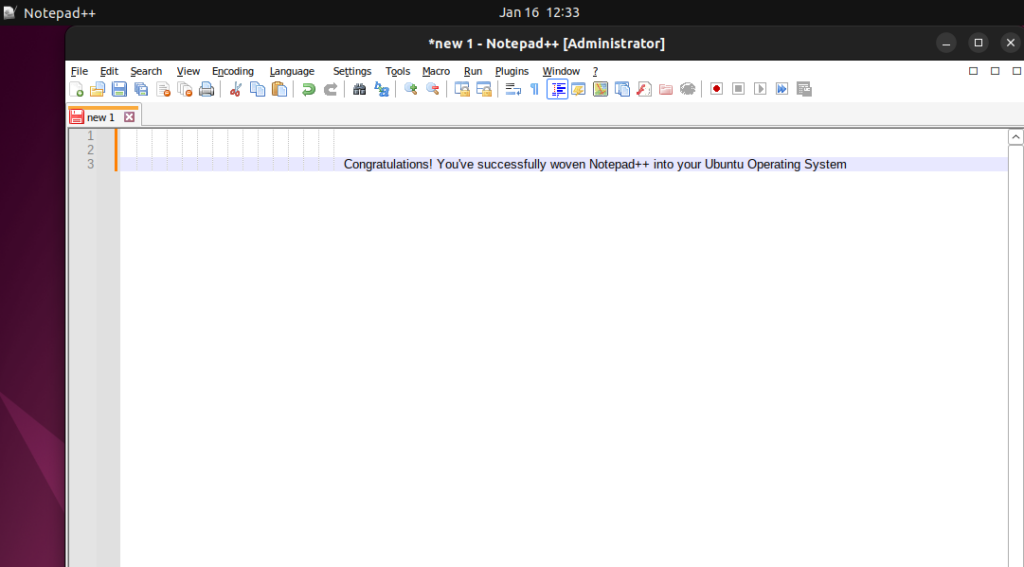
Step 5: Launch Notepad++
Now it is successfully installed, you can open it directly from the application launcher or Ubuntu Software Center. Click on the logo to open the application.